Friday, March 29, 2013

Spring Updates!

Like the rest of our house, the front landscaping was very dated when we bought it with each shrub shaped into a ball and "variety" consisting of azaleas, rhododendrons  and hydrangeas  Don't get me wrong, these are great shrubs, but when they are 50 years old, woody, and clumped together, it is not a good look.

My mom and Aunt Nancy ripped out one of the azaleas and my mom and I tackled a second one. This opened up the front landscaping next to the house and now you can see the trunk shape of the rhododendrons that were hiding. We headed to Al's and Home Depot and picked up some fun new plants for the space. I was on the hunt for color and texture to add interest and curb appeal.

The Plant List:
1. David Viburnum - has glossy dark green leaves and metallic turquoise blue fruit. 
2. PJM Elite Rhododendron - I know another rhodi...but this one blooms super early and has beautiful purple flowers.
3. Madrone - there are different varieties and I wanted one with dark cinnamon bark with mini deep pink flowers.
4. Dwarf Japanese Skimmia - shiny leaves with red berries.
5. Forsythia - bright yellow flowers in early spring. This plant reminds me of my grandmother who would make a large indoor display of these branches each year.
6. Kaleidoscope Abelia - beautiful orange, red, and green leaves with white flowers in the summer through fall.
7. Sweet Flag Ogon grass - variegated white and green low height grass.
8. Popcorn Drift Groundcover Rose - Light yellow, as the name suggests, roses that are low to the ground and self clean.

Here are the before and after pics:
BEFORE - shrub balls!


Spring craft! My mom and I also updated the built in dining room china hutch by adding fabric to the back wall. We picked up some tag board and cut the pieces to fit inside the hutch. Then we used spray adhesive to mount the fabric to the tag board and folded over the fabric to  create a clean edge. It is easy to change and I think it gives it a more modern look.
BEFORE
BEFORE


Saturday, March 16, 2013

Five Dollar Kitchen Island Update

We have a very white kitchen. All of the cabinets, island, and floor are basically white. I love bright colors, so I decided to add a yellow chevron pattern to both ends of the white island using contact paper. I used this helpful post as a starting point except instead of putting my colored contact paper chevron pattern onto white contact paper, I put it directly on each end of the island. I am really happy with the way it turned out and it I want to change it up, I can just peel it off!

Drawing up my chevron pattern
Chevron pieces ready!


Today ended up being a very craft filled day. I wanted some fun Easter eggs and found this pin on Pinterest for ruffled fabric eggs. I had some extra t-shirts lying around from other craft projects, so I used t-shirt fabric strips, plain plastic eggs, and a hot glue gun to create fun ruffled eggs.


Saturday, March 9, 2013

Bring on Spring!

I am ready for spring! To combat my winter mood, I spent way too much time on Pinterest but did manage to make a few things for the Ranch:

Artwork - I found this fun website on Pinterest that turns any paragraph into a heart shape. I choose to make the lyrics from the song that was performed at our wedding, Love Never Fails by Brandon Heath, into a heart to frame.


Felt Heart Garland - Another Pinterest find - here is the website to create quick Valentines decor.

Spruce up a wreath - I bought some inexpensive fake flowers at Michaels and used wire cutters to break them into stems that I could insert into the plain wreath. Instant spring!

New House Numbers - our old brass numbers were not visible from the street, so we purchased larger 6" numbers and placed them above the garage. 
BEFORE - old brass numbers


Signs of Spring outside - the cover crop that I planted back in October is taking off and the moss on my mini brick patio is going crazy. 
 

Bring spring inside - I can't resist mini daffodils! I bought a small pot and put them on my kitchen counter. They make me smile every time I see them.

Wednesday, January 23, 2013

Pantry Redo!

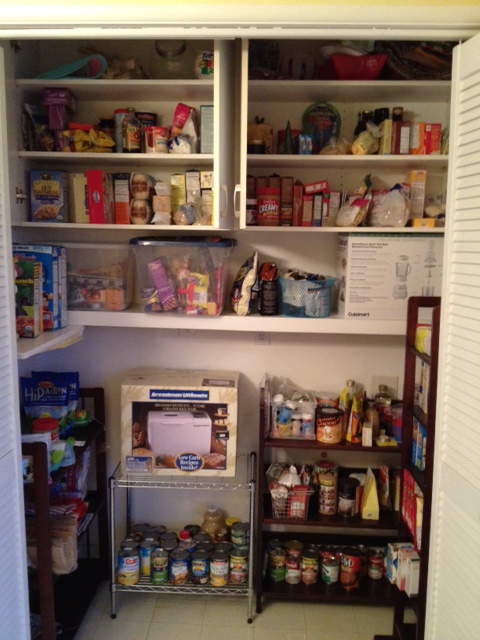
The pantry space has been on our to-do list for a LONG time and we are excited that it is finally a usable organized space. When we purchased the house, the washer and dryer were located in the pantry and we knew immediately that they needed to go. They were moved into the garage, but then we were left with an open space with only a few cabinets for storage. 

We decided to use what we had on hand - random bookcases and DVD racks - to create a make-shift pantry until we could invest in a more permanent solution.
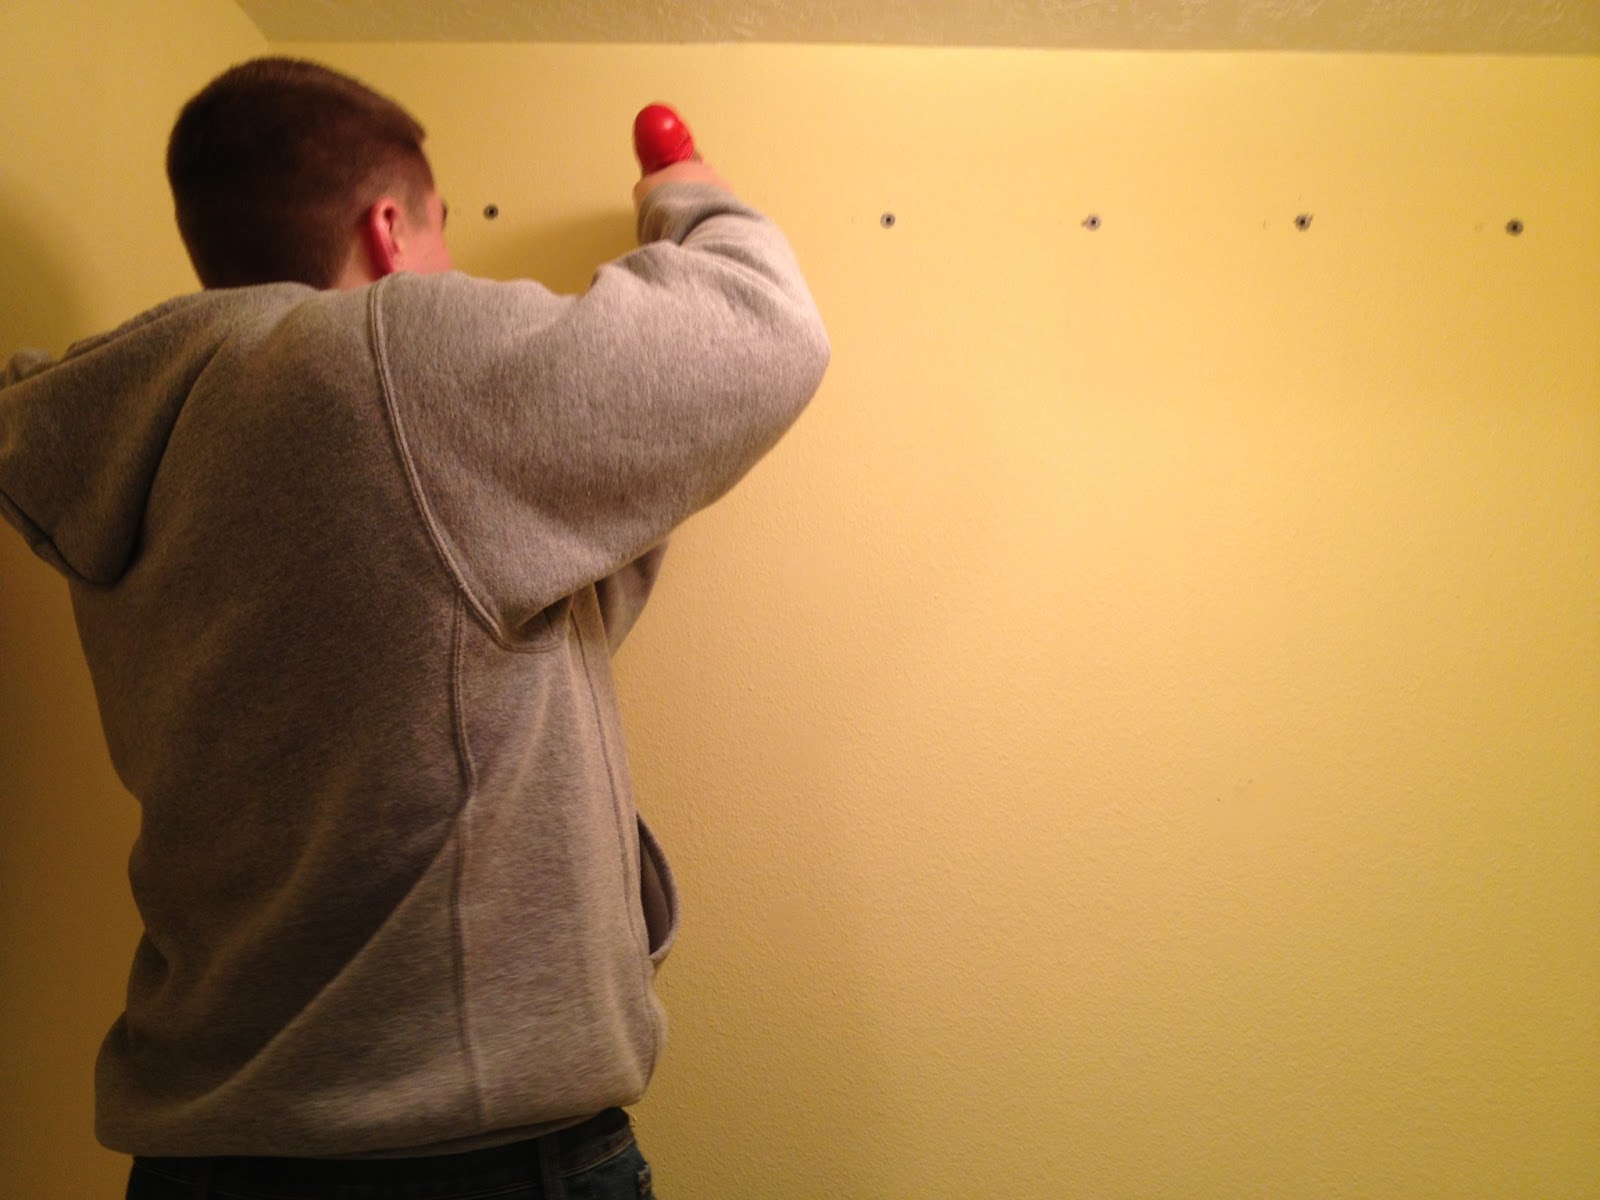
Our pantry is a little unique in that it has a mess of water and power lines running through the back wall. In order to reduce the chance of hitting something during installation, we decided that the Elfa shelving system with one track that mounts at the very top of the wall was the way to go. 

First things first - demo time! We removed the cabinets and built in shelves from the wall, sanded, puttied, and prepared for paint.

Thank you mom for painting our pantry while we were at work one day so that we could get it installed in one night! As Kyle said "Elfa is like legos for adults" and we had fun putting it all together.


Luna even has her own treat drawer so we are all happy with the new pantry space!


Tuesday, January 1, 2013

Winter Projects

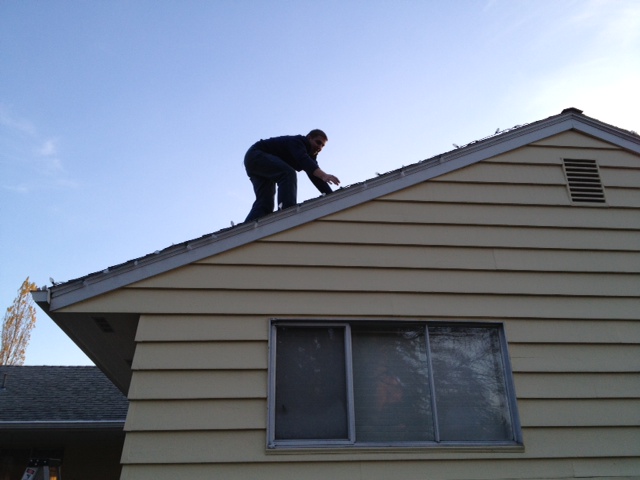
Cleaning gutters ranks right up there with one of my least favorite activities. Especially at our new house, where the gutters on one side of our house are 20' and next to our main power line. I don't mind heights, but I am not fond of the idea of climbing on the roof like Santa. Little did I know that Kyle does not mind this task! 

So - off to the Depot to get a 16' extension ladder and 200' of gutter guard to hopefully reduce our gutter cleaning events. 

I have to say that I was a little surprised when Kyle volunteered to climb on the roof to install the gutter guard and while he was up there - the Christmas lights. Major husband brownie points!

I worked cleaning the gutters and Kyle installed the new gutter covers. I was hoping this project would take us a few hours, but as you can see from the fading light in the last picture, it took all day and into dusk - but it is DONE!


My mom also crafted up a winter evergreen basket with cuttings from our blue spruce, oregon grape, and pine tree and we created the JOY letters with scrapbook paper on  painted paper mache letters. Lastly - forcing paperwhites - my favorite winter flower.


Overall - 2012 was full of change, new challenges, and adventures. 
Now off to start the New Year!